If you’re looking to boost the performance of your HP Z240 workstation without breaking the bank, you’ve come to the right place. Explore our guide to an HP Z240 Workstation Upgrade on a Budget, covering essential upgrades like SSDs, graphics cards, and thermal paste for improved performance. This article will guide you through an affordable upgrade process, covering everything from memory modules to SSD installation and even adding a GTX 1060 graphics card.
Table of Contents
Watch My YouTube Video: HP Z240 Workstation Upgrade on a Budget
Initial HP Z240 Workstation Check and Unboxing
Check the state of your HP Z240 workstation before starting the upgrade. After unpacking, make sure every component is present and in good shape. One common issue is missing memory modules, which should be addressed immediately with the seller.
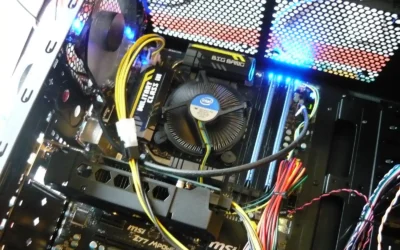
Inspecting Internal Components
After removing the case’s seal, take a close look at the internal components. You should see:
- Two 8GB memory modules (totaling 16GB)
- PCI Express slots for potential upgrades
- A 400-watt power supply with a six-pin connector
- 2.5-inch bay for an SSD
These components provide a solid foundation for further upgrades, ensuring you can add new hardware without major compatibility issues.
Installing the SSD
The speed of your system will be much enhanced by substituting an SSD for the old hard drive. This is how to accomplish it:
- On the 2.5-inch bay, mount the SSD.
- From the original hard drive, clone the running system to the SSD.
- Either replace the old hard disk with a bigger one or use the extra capacity on it.
This configuration improves storage space and performance, therefore optimizing your workstation for daily operations and demanding projects.
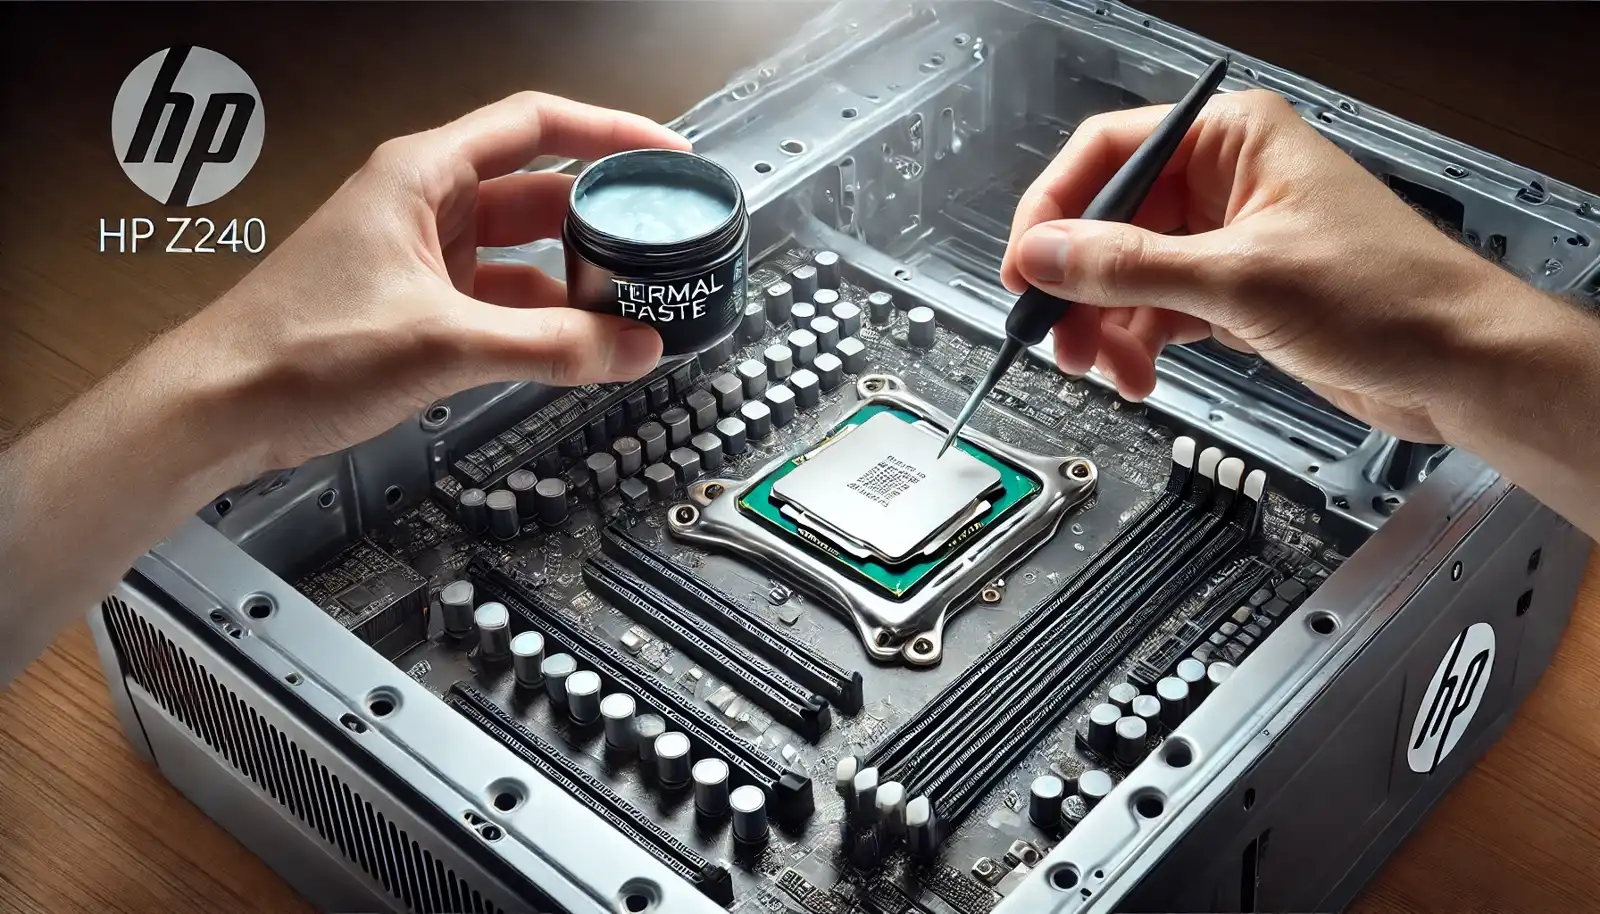
Applying New Thermal Paste to the CPU of an HP Z240
Applying New Thermal Paste
Maintaining best cooling depends on fresh thermal paste application on the CPU. Here’s a brief guide:
- Remove the CPU cooler carefully.
- Clean off the old thermal paste from both the CPU and the cooler.
- Apply a new layer of thermal paste evenly.
- Reattach the CPU cooler, tightening it in a crisscross pattern.
This technique guarantees better heat dissipation, which is crucial for consistent performance, particularly in demanding operations.
Installing the GTX 1060 Graphics Card
Upgrading your graphics card is one of the best strategies to increase your workstation’s gaming and video editing capability. We are building using a GTX 1060. Follow these steps:
- Remove any obstructing components.
- Install the GTX 1060 into the PCI Express slot.
- Connect the six-pin power connector.
- Ensure all connections are secure and tidy up cables.
This update makes your HP Z240 a strong and flexible system that is able to run current games and demanding apps easily.

HP Z240 Workstation Case
Final Steps and HP Z240 Workstation Testing
With all the new components installed, it’s time to test your upgraded workstation:
- Ensure the system boots correctly and all new hardware is recognized.
- Run stress tests to check for stability and performance improvements.
- Organize cables for better airflow and a cleaner setup.
These final checks are crucial for confirming that your upgrades are successful and that your workstation runs smoothly under load.


Conclusion on Upgrading an HP Z240 Workstation Budget Build
Budget-wise, upgrading an HP Z240 workstation will revitalize your system and improve its performance for gaming, video editing, daily operations, and other uses. With a few deliberate changes, such as installing a new SSD and adding a GTX 1060 graphics card, you may greatly increase the capabilities of your workstation without investing a lot of money.
If you found this guide helpful, consider exploring more articles on this topic, including HP Z series workstation upgrade tips and SSD buying guide to enhance your setup further. Happy upgrading!