Upgrading a computer to meet Windows 11 requirements might seem like a daunting task, but it’s a practical and rewarding way to breathe new life into an older PC. Your PC may not match Windows 11’s current compatibility criteria, but you’re not alone! Microsoft’s increased security and performance standards are causing this issue for many users. Fortunately, changing your motherboard and CPU lets you use the latest operating system without buying a new computer.
This tutorial covers PC upgrade stages, including compatibility, hardware selection, and installation. This article offers clear, actionable advice for tinkerers and PC builders alike.
Windows 11 Compatibility Requirements
To upgrade your PC to support Windows 11, your new motherboard and CPU must meet these requirements:
- TPM 2.0: Most modern motherboards include TPM 2.0 or fTPM in the CPU.
- Secure Boot: A feature available in UEFI firmware, standard on modern motherboards.
- 64-bit Processor: Windows 11 requires a compatible 64-bit CPU.
Check the official Windows 11 requirements for more details.
Choosing the Right Motherboard and CPU
When selecting components, ensure they meet Windows 11 compatibility requirements:
- Processor: Choose a modern 64-bit CPU with TPM 2.0 support.
- Motherboard: Match the form factor of your PC case, such as micro-ATX or ATX.
- RAM Support: Modern motherboards use DDR4 or DDR5; check your existing RAM or plan to upgrade.
Additional Considerations
Before you begin, consider the following:
- Power Supply Unit (PSU): Ensure your PSU supports the new motherboard and CPU power requirements.
- Cooling: Verify your current CPU cooler’s compatibility or upgrade if needed.
- Storage and Peripherals: Confirm compatibility with your drives, graphics card, and other components.
Upgrading Computer to Windows 11
Step-by-Step Installation Guide
Follow these steps to upgrade your PC:
- Prepare: Disconnect power, peripherals, and open the case.
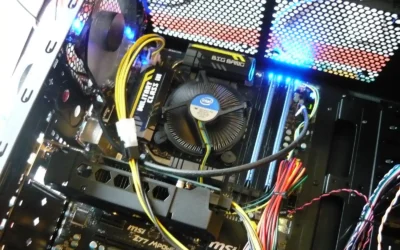
- Remove Old Components: Carefully remove the old motherboard, CPU, and any incompatible parts.
- Install New Components: Mount the new motherboard, install the CPU, cooler, and RAM.
- Connect Components: Reattach storage, power supply cables, and peripherals.
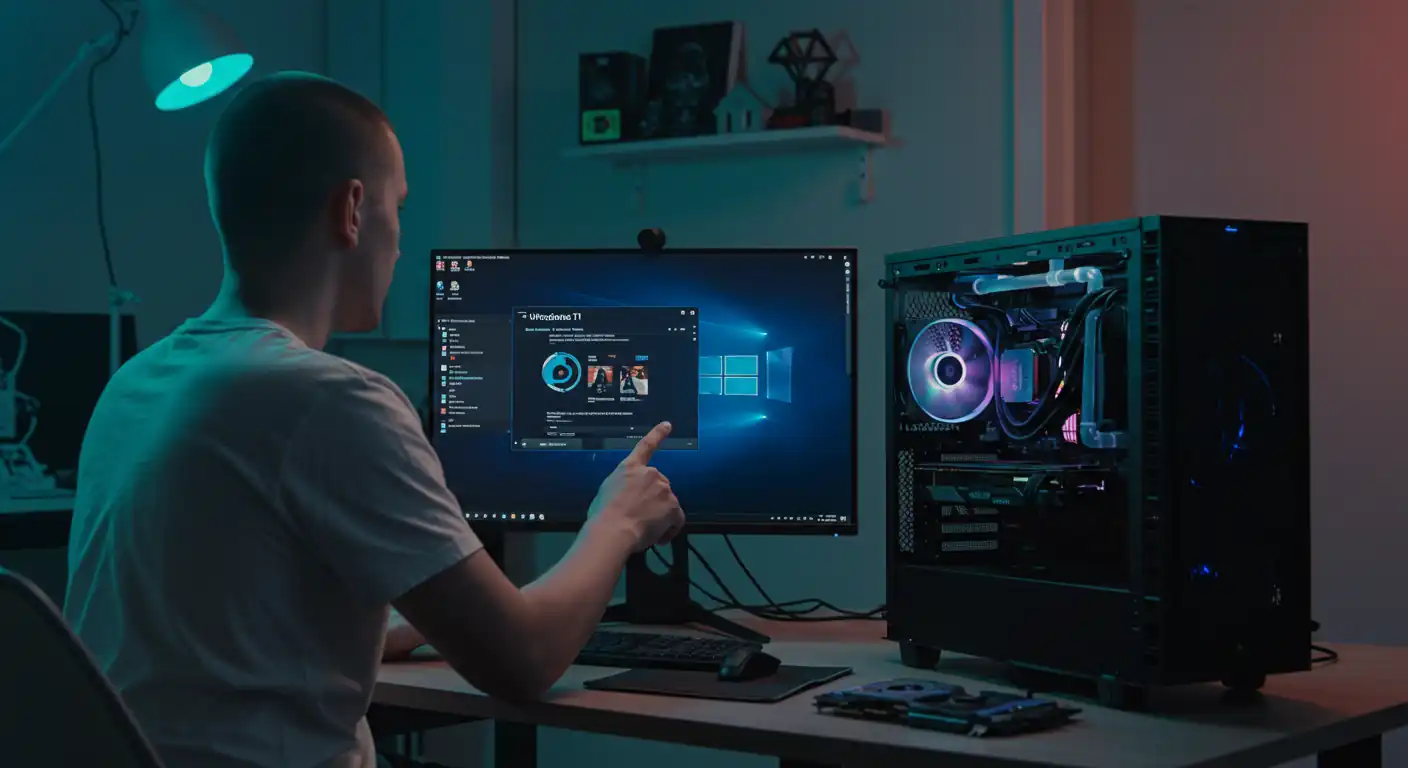
- Update BIOS/UEFI: Enable TPM 2.0 and Secure Boot.
- Install Windows 11: Use a USB installation media to complete the upgrade.
Frequently Asked Questions
Can I upgrade my current motherboard to support TPM 2.0?
Some older motherboards support TPM modules, but upgrading to a modern motherboard is often more practical.
Do I need to buy a new case for my upgraded PC?
Not necessarily. Most upgrades can fit in the existing case if the new motherboard matches its form factor.
Is upgrading cheaper than buying a new PC?
Upgrading can be cost-effective if you already have some compatible components, but weigh the costs against buying a new PC.
Final Thoughts
Upgrading your PC to meet Windows 11 requirements is a great way to extend its life and improve performance. While it involves some technical steps, the investment can save you money compared to purchasing a new system. Ensure your components are compatible, follow the steps carefully, and enjoy your upgraded PC!