This article will explain how and why to install a PCIe SATA expansion card in great detail. From planning to post-installation tests, we will walk you through the installation procedure so you may confidently upgrade your server. We will also go over several possible uses for these expansion cards, stressing their adaptability and the clear advantages they provide for your server configuration.
Installing a PCIe SATA extension card will greatly improve your server’s performance by increasing hard drive connectivity and extending storage capacity. These cards guarantee consistent and quick data transfers by including extra SATA ports, which let you connect more drives. A PCIe SATA extension card provides a dependable and effective answer whether your connectivity problems call for a simple storage capability update or not.
Table of Contents
Watch My YouTube Video: HP Z240 Workstation Upgrade on a Budget
Why Install a PCIe SATA Expansion Card?
There are several reasons to install a PCIe SATA expansion card in your server:
- Improve connectivity reliability and prevent hard drive disconnections.
- Increase the number of available SATA ports for additional hard drives.
- Optimize cable management and overall system organization.
By upgrading to a single, more capable SATA card, you can potentially resolve issues with drive disconnections and enhance the performance and reliability of your server setup.
6 Port PCIe SATA Expansion Card Installation
Preparation Before Installation
Before you start the installation process, it’s essential to prepare adequately. Here’s what you need to do:
- Ensure you have the correct PCIe SATA expansion card for your needs.
- Back up all important data on your server to prevent data loss during the installation.
- Take note of the current drive mappings and letters. This can be done by taking a screenshot or writing them down.
Installation Steps
Follow these steps to install your PCIe SATA expansion card:
- Shut down your server and disconnect it from the power source.
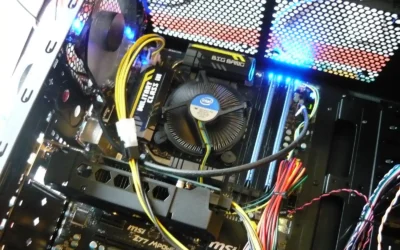
- Open the server case to access the internal components.
- Locate the existing SATA expansion cards. You may have multiple cards installed.
- Carefully remove the old SATA cards. Note their connections and placement.
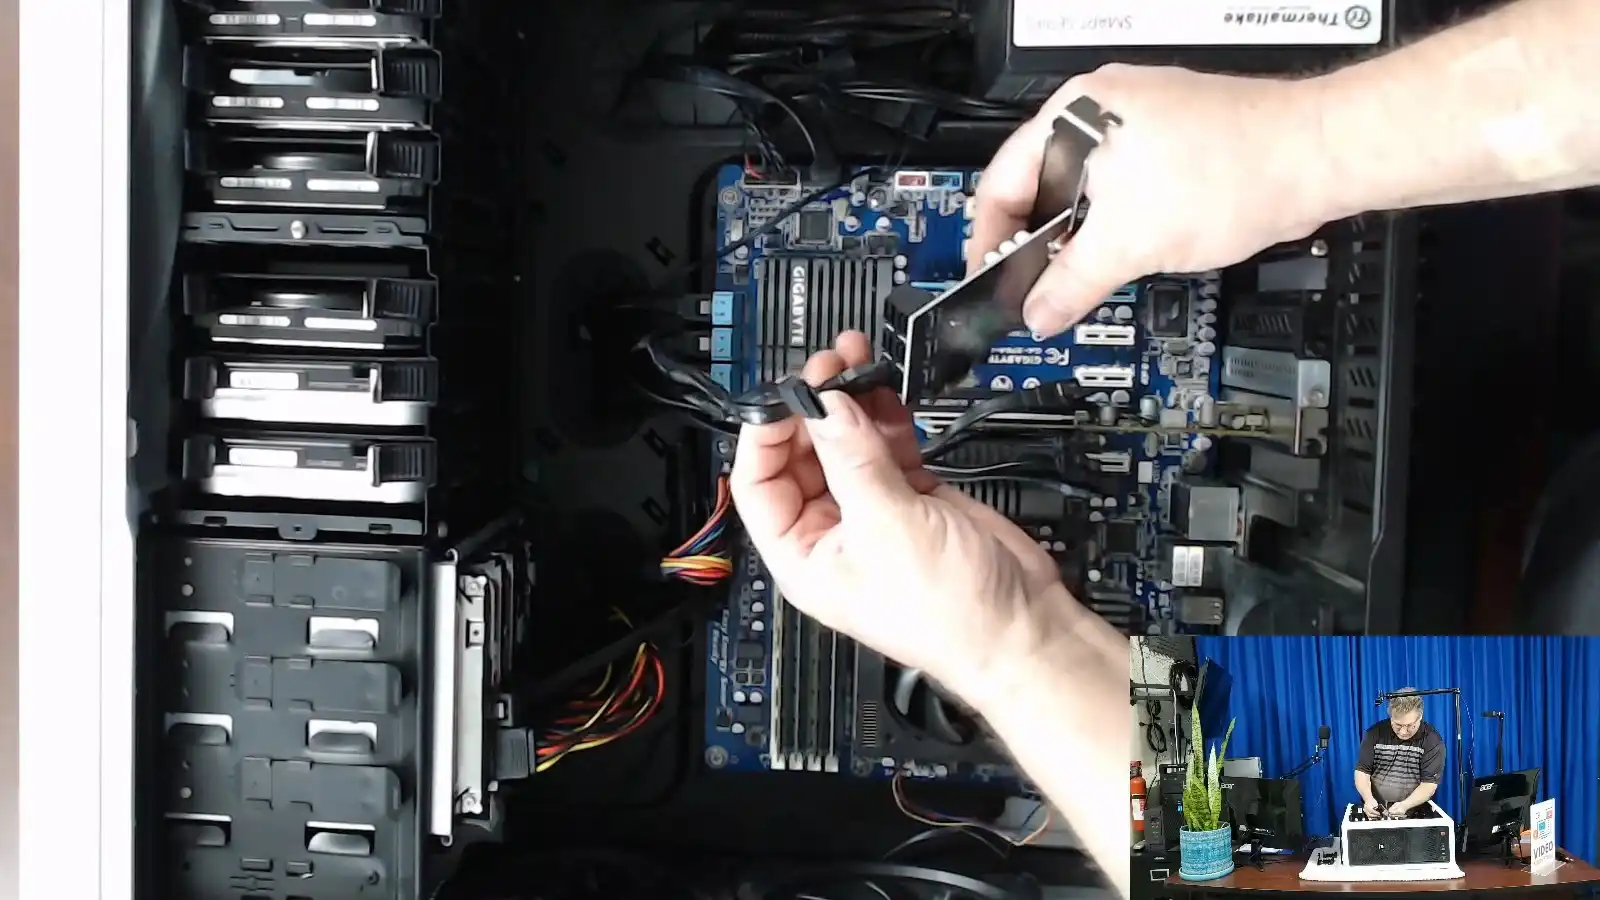
- Insert the new PCIe SATA expansion card into the appropriate PCIe slot. Ensure it is securely seated.
- Reconnect all necessary cables to the new SATA card. Pay attention to cable management to keep everything tidy.
- Close the server case and reconnect the power source.
- Power on the server and check if the drives are recognized correctly.
Installing a PCIe SATA expansion card can resolve connectivity issues and provide additional ports for future expansions. For detailed steps on installing an expansion card, you can refer to this guide.

4-Port PCIe SATA Expansion Card

PCIe SATA Expansion Card Ports
Post-Installation Considerations
After installing the PCIe SATA expansion card, there are a few things to keep in mind:
- Verify that the system recognizes the new card and the connected drives. Check the drive letters and mappings.
- Update any necessary drivers to ensure optimal performance.
- Monitor the system for any recurring issues. If problems persist, further troubleshooting may be required.
Troubleshooting and Tips
If you encounter issues after installing the PCIe SATA card, consider the following tips:
- Ensure the card is properly seated in the PCIe slot.
- Check for any loose or improperly connected cables.
- Consider swapping PCIe slots if the problem persists. Different slots may offer varying levels of performance.
For additional troubleshooting tips and common issues with PCIe SATA cards, you can visit this troubleshooting guide.
Following these guidelines and factors will help you install and set up a PCIe SATA card on your server, enhancing dependability and performance. Knowing how and why to install a PCIe SATA extension card will help you greatly, whether you are addressing connectivity problems or increasing storage capacity.
For more details on optimizing your server, check out this comprehensive guide on server upgrades.