Welcome to my budget home server build discussion, where I offer practical advice on setting up a budget-friendly home server using an old PC or workstation and repurposed components. This article will walk you through the procedures and issues for configuring your own home server on a budget. We will discuss how to repurpose obsolete gear, cut e-waste, and build a viable server for backing up and data management.
Table of Contents
Watch My YouTube Video Discussing How to Build a Budget Home Server Using an Old PC or Workstation
Introduction
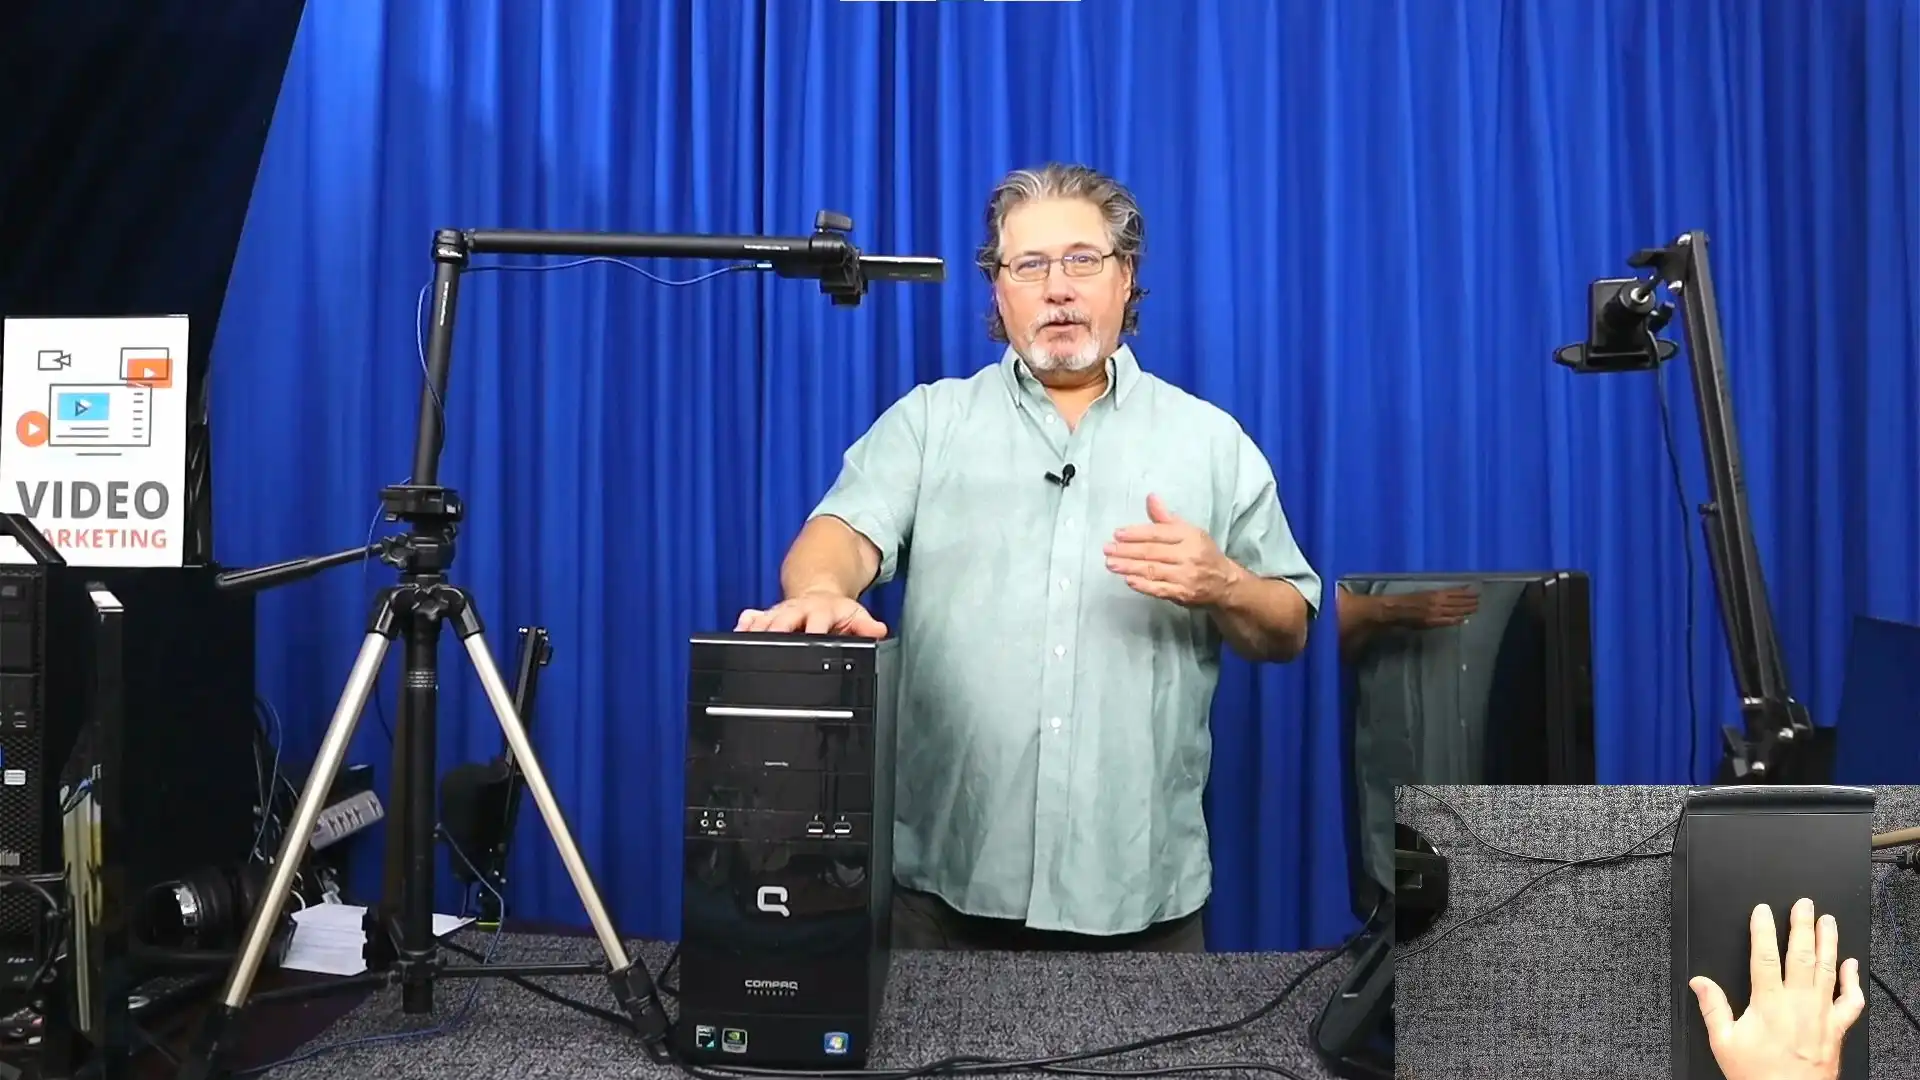
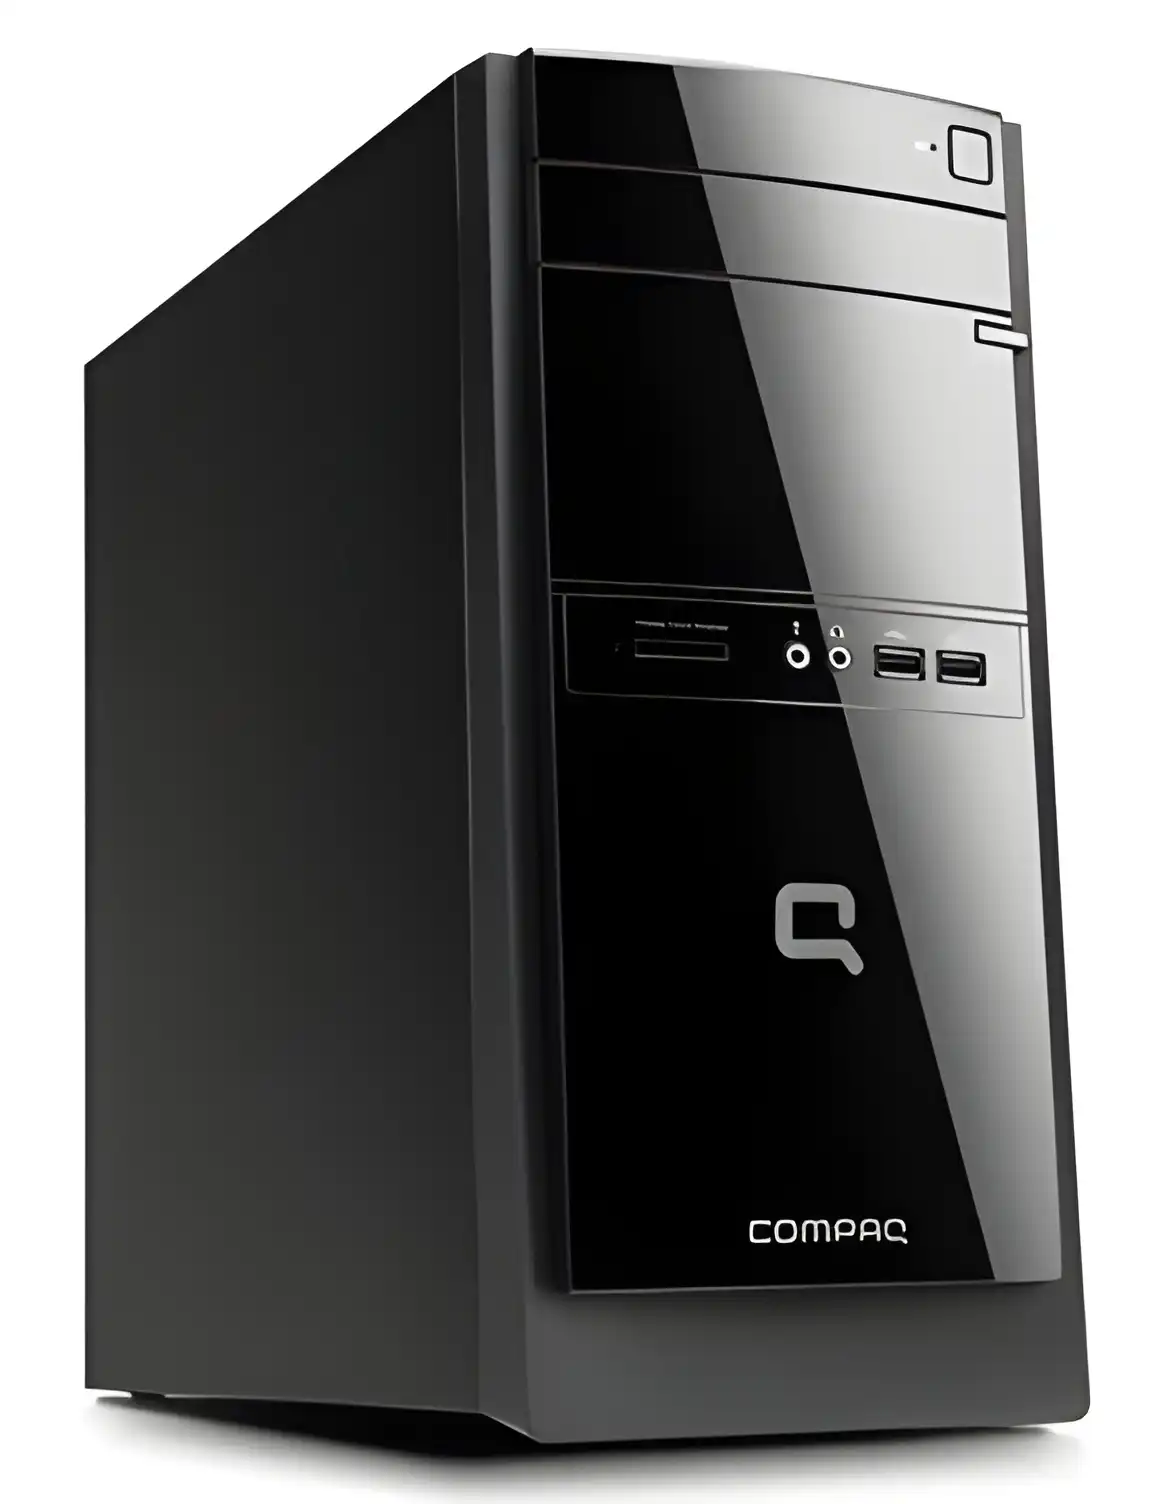
Today I’d like to talk about a few different topics and try to tie them all together for you. One of the topics is reducing e-waste, and that’s where this little baby comes in. I just picked this up sitting alongside the curb, so it’s free. It has an Athlon X2 215 processor, which is very low performance but also very low power. That’s going to come in handy when we convert this into a home server where you can back up everything in your house on this server.
Finding Affordable Hardware
Another great thing about this is it already has a Windows 7 license, which can be upgraded to Windows 10, and it has a 500GB hard drive. Now that’s not a lot, but it’s a good start. I have another system almost exactly like this that I picked up at a local thrift store for $10. So, you got a $10 PC, and a $0 PC. This can be converted into a home server very easily; just put an SSD in it, and that’s going to increase the performance of the system greatly and make it a really well-performing home server.
Setting Up the Server
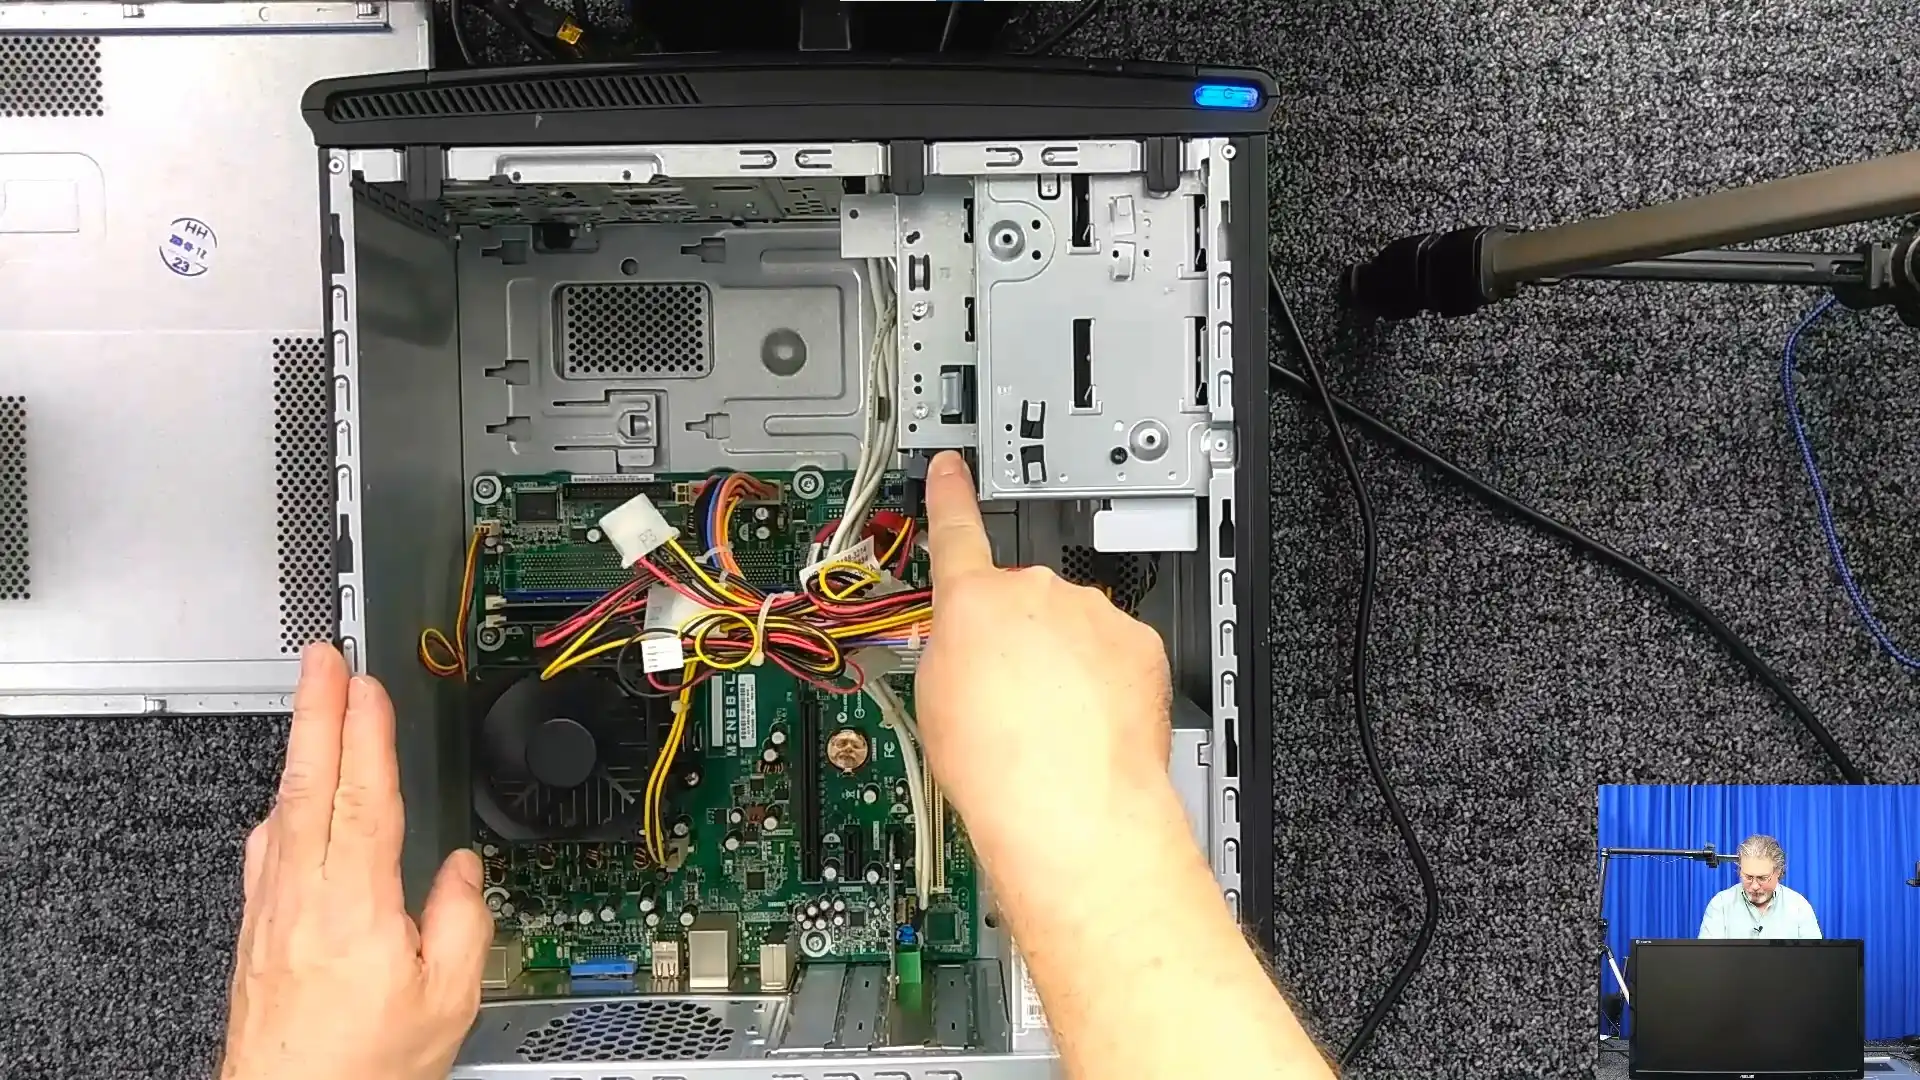
We’re going to take a look at it, see if it’ll fire up, and discuss how you can go about creating your own home server. Let’s take a look at what we’ve got here. Here’s the interior. I did have a look around while cleaning it out. It was pretty dirty, but we did get it cleaned up pretty good. You’ll see right here we have a 500GB hard drive listed on the side, and 3GB of memory. The Athlon X2 215 processor and a 250W power supply are also present. You could install a graphics card, but on a home server, you’re not going to want to do that because it’s going to consume extra power.
Upgrading Components
We have four SATA ports, so it would be pretty easy to get two drives in by converting one of the 5.25″ bays and removing the DVD drive. The SSD could just sit anywhere inside. Moving the operating system to an SSD and adding up to three hard drives would provide plenty of storage. Decent used hard drives, like 18TB to 20TB, can be had for less than $200. This system could really hold a lot of data.
Important Considerations
One more thing: If you’re leaving a system out like this, either smash the hard drive or wipe it clean with software that makes several passes. Simply deleting files isn’t enough, as deleted data can still be retrieved unless it’s overwritten multiple times. For sensitive data, you should be very careful. Considering we got this home server for free and can easily upgrade it to Windows 10, we could place a $15 SSD in it and have a starter home server. Depending on your storage needs, you could start with a 4TB to 6TB drive and later upgrade to an 18TB or 20TB drive.
Conclusion
That’s about all I have for you today. We have a potential home server build that costs zero and actually runs. By placing about a $15 SSD in it, we would have the start of a home server. Later, you can upgrade to larger storage drives. It’s a cost-effective and eco-friendly way to set up a home server that will do everything you need on a budget. Happy building!


